my notes on
Best overhead garage storage: affordable ceiling racks that earn their space
Three overhead storage approaches that reclaim the floor without turning your ceiling into a guessing game.
my notes on
Three overhead storage approaches that reclaim the floor without turning your ceiling into a guessing game.

Overhead storage is the upgrade I recommend most often, because it solves a problem no shelf ever will: it gives you square footage you weren’t using without taking any away from the floor. But I’ve also seen it done badly — racks sagging under the wrong load, hardware pulled straight out of drywall, totes stacked so high nobody wants to climb up and get them. This roundup is the version of that project I’d actually want in my own garage, built from racks with real weight ratings and a drop height you can adjust to your ceiling.
The math is simple. A typical two-car garage ceiling has roughly the same open area as the floor, and almost none of it is being used for anything except air. Moving your least-used categories — holiday decorations, off-season sports gear, empty luggage — up there frees an equivalent amount of floor space for parking, workbenches, or the project you actually want room for.
Where it fails is almost always the same story: someone buys a rack sized for a much bigger garage, mounts it into drywall instead of joists, or loads it with things that are too heavy to lift safely over a car. None of that is the rack’s fault. It’s a planning problem, and it’s completely avoidable with a tape measure and a little patience.
Four things matter more than brand name: a published weight capacity you can actually verify, an adjustable drop height so the platform clears your garage door track and any lights, hardware rated for mounting into ceiling joists rather than drywall alone, and a footprint that matches your ceiling — not just your floor.
Before you buy anything, measure the height from the floor to the lowest point of your garage door track when the door is fully open, the height of your tallest vehicle with any roof rack or antenna, and the spacing of your ceiling joists (usually 16 or 24 inches on center). Write these numbers down. They will save you a return trip to the store and an afternoon of frustration.
Best all-around: FLEXIMOUNTS 4×8 Overhead Garage Ceiling Storage Rack.
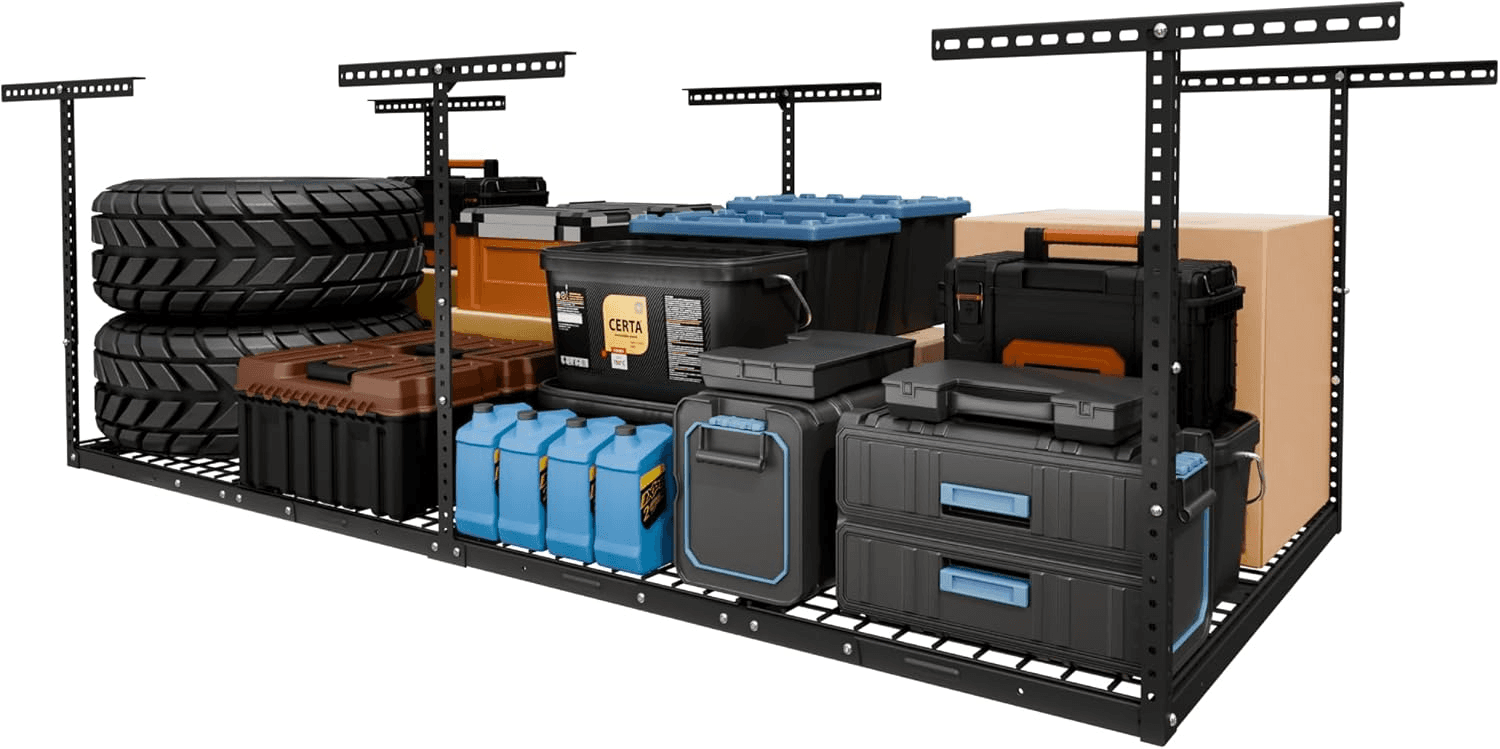
This is the rack I’d start with for a standard two-car garage. The 22–40 inch adjustable drop gives you real flexibility for ceiling height, and a published 750-pound capacity is enough for several totes of holiday decorations, camping gear, and off-season equipment without getting anywhere near the limit. It mounts to joists with included hardware, and the wire deck keeps dust from collecting the way a solid shelf would.
Best for a smaller bay or single-car garage: FLEXIMOUNTS 4×6 Overhead Garage Ceiling Storage Rack.
The smaller footprint is the right call when you don’t have a full 4×8 foot span of clear ceiling, or when you only need enough overhead room for a modest row of labeled totes rather than a full seasonal archive. Same adjustable-drop design, just scaled down — and priced accordingly.
Best if you already own matching totes: EVERHANGER Ceiling Bin Storage System.
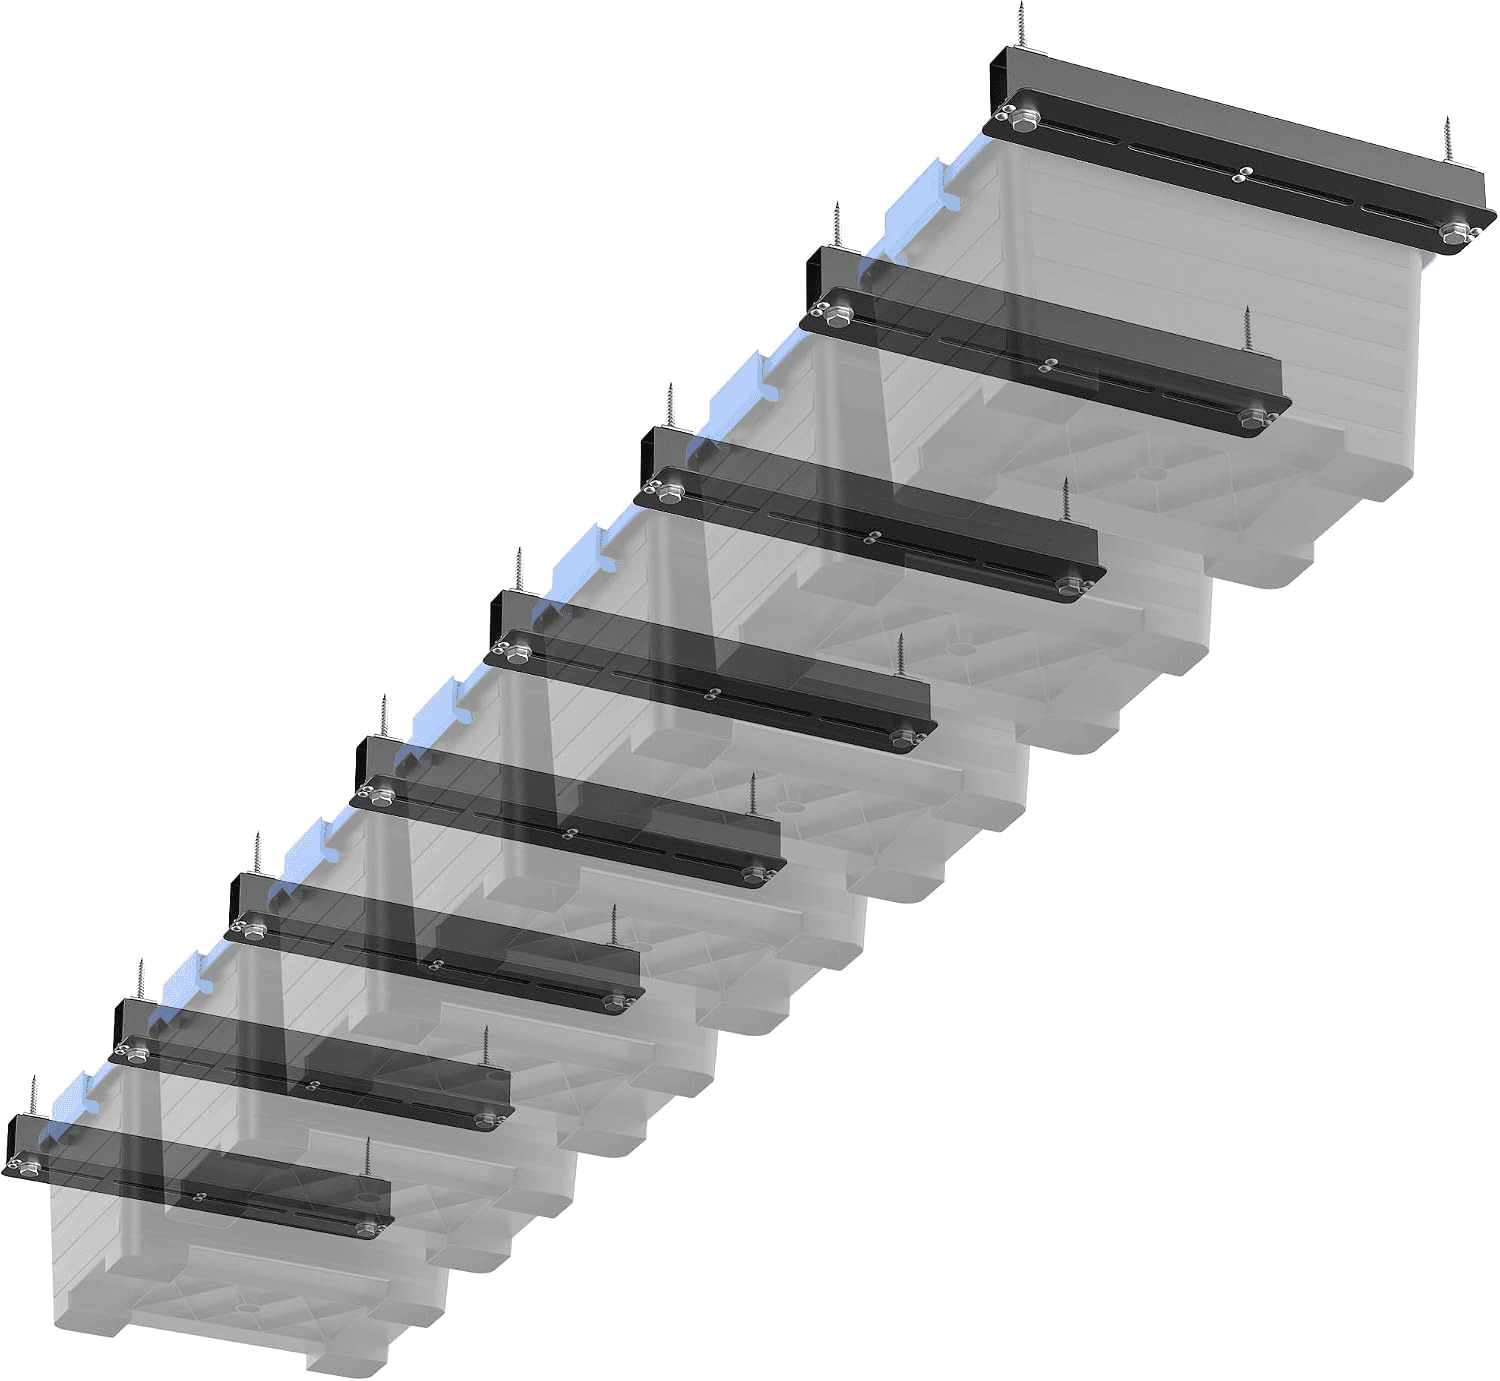
Instead of a flat deck you load from a ladder, this style hangs bins directly by their rims, which makes loading and unloading noticeably easier if you already have a set of stackable totes you like. It’s a good fit for a garage that already has an organized bin system and just needs somewhere else to put it.
Most of these racks are a two-person job, and it goes much faster with a second set of hands holding the frame level while you drive lag screws into the joists. Mark your joist locations with a stud finder before you start — guessing here is how racks end up crooked or, worse, anchored into nothing but drywall. Assemble the frame on the garage floor first when the design allows it; it’s far easier to bolt brackets together at waist height than overhead on a ladder.
Once it’s up, load it gradually and check that the frame sits level and the mounting points aren’t flexing under weight. A rack that’s slightly bowed in the middle after the first few totes is telling you something — usually that it needs an additional support point, which most kits include as an option.
Good candidates: holiday decorations, empty suitcases, camping gear you use once or twice a season, off-season sports equipment, and spare building materials you’re saving for a future project. All of these are light relative to their size and rarely needed on short notice.
Bad candidates: anything you might need in a hurry, fuel or chemical containers, anything genuinely heavy like a full toolbox, and anything you’d hate to have to climb a ladder for at ten o’clock on a Tuesday night. If retrieving it requires effort you’ll avoid, it will just sit there gathering dust and defeating the whole point of organizing it.
The most common one is buying a rack sized for the floor plan instead of the ceiling — measure your actual clear span before ordering. The second is skipping the stud finder and mounting into drywall anchors alone, which is not rated for this kind of sustained load. The third is loading the far corners first, which can leave a rack unevenly weighted; load it from the center outward and keep the heaviest items toward the middle of the span.
Twice a year — I do mine when the seasonal bins rotate — climb up and check that every bolt is still snug, that nothing is resting against a light fixture or the door track, and that the totes are still labeled clearly enough to read from the ground. It takes ten minutes and it’s the difference between a system that lasts and one that quietly becomes a mess again.
Affiliate note: product availability and pricing change. If you buy through a product link, this site may earn a commission at no added cost to you.
Check overhead weight ratings and ceiling support before choosing capacity.
Measure the full garage-door travel path before choosing a location.
Plan mounting height around the vehicle, bins, and access.