our notes on
Garage Pegboard Ideas: Layouts That Actually Stay Organized
Pegboard layout ideas that keep tools visible and easy to put back, plus the hardware and spacing that make a pegboard wall actually work long-term.
our notes on
Pegboard layout ideas that keep tools visible and easy to put back, plus the hardware and spacing that make a pegboard wall actually work long-term.
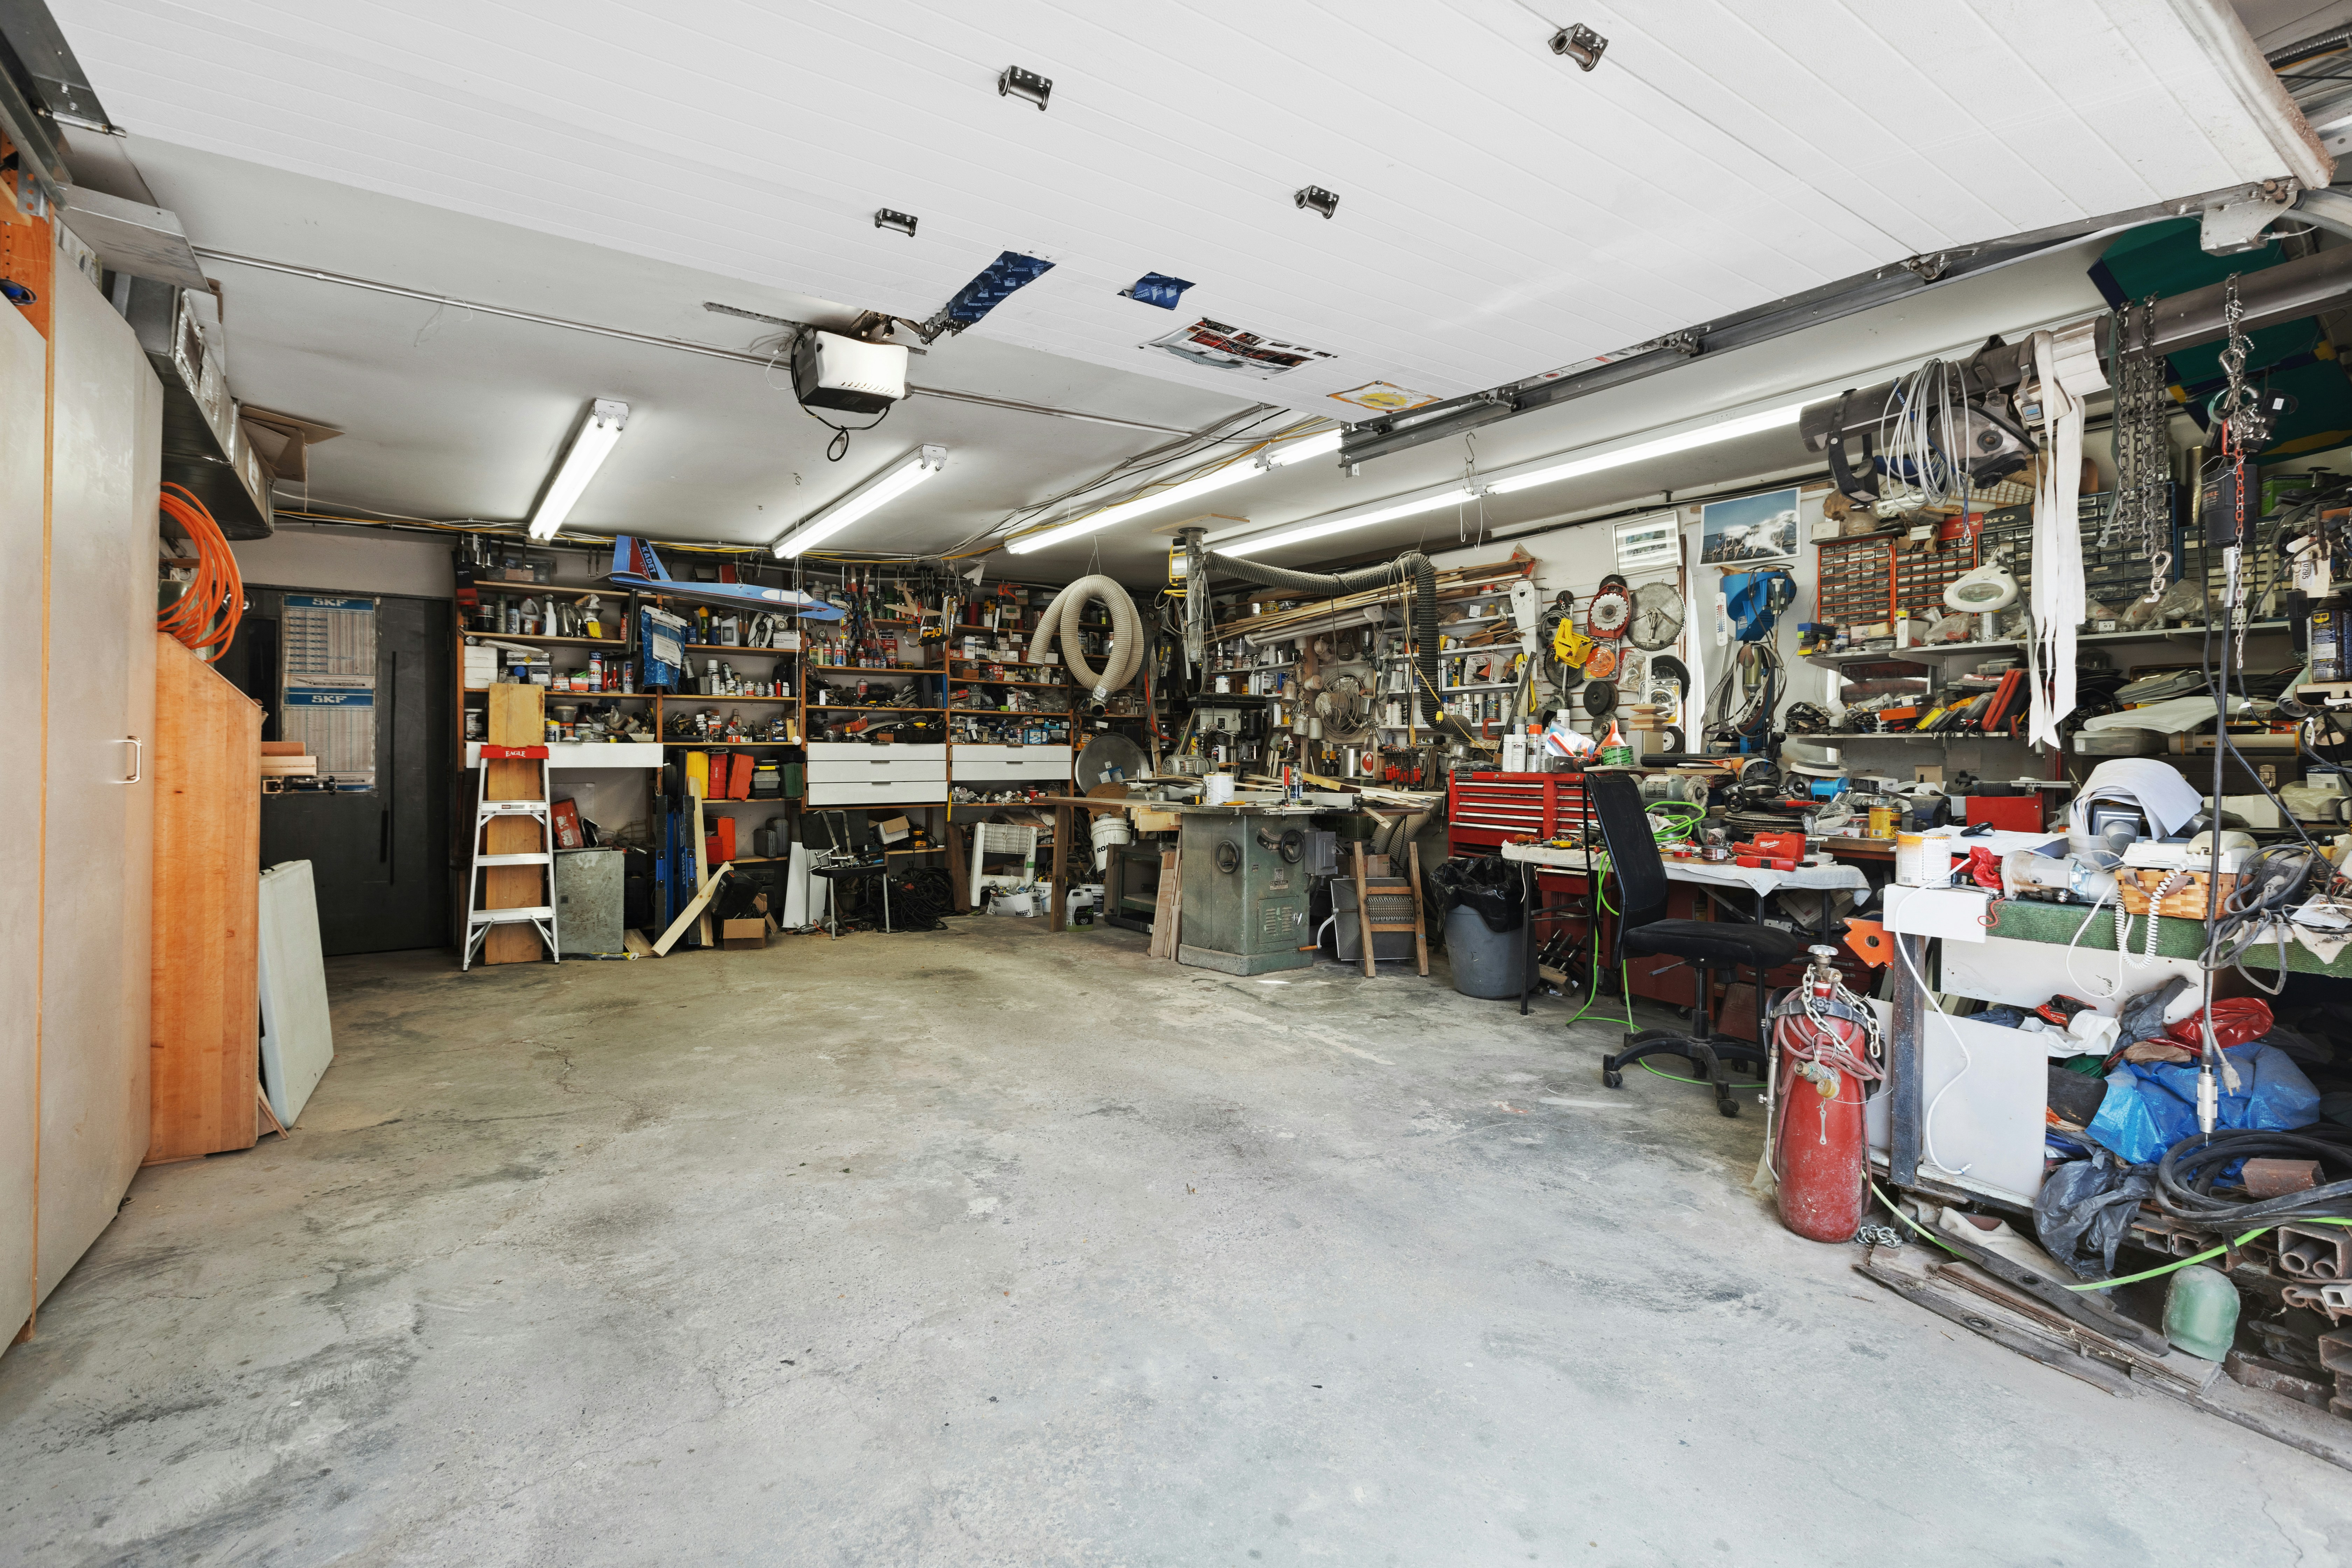
A pegboard wall looks great on day one and turns into a jumble of empty hooks and misplaced tools by month three, unless the layout is planned around how you actually work instead of how the tools look hung up. Here’s how to lay one out so it survives real use.
The instinct is to hang all the screwdrivers together, all the wrenches together, and so on. That works for a display, but it’s slower in practice than grouping by what you’re doing: everything for a bike tune-up in one section, everything for yard work in another.
The strike zone is roughly waist to shoulder height, dead center of the board. That’s where your hands land without thinking. Reserve it for the tools you reach for weekly, and push rarely-used tools to the edges or up top.
This is the single trick that keeps a pegboard organized months later instead of just on installation day. Trace or paint an outline behind each tool’s hook. An empty outline is an obvious reminder that something’s missing and where it belongs.
A board that’s completely full on day one has nowhere to go when you buy a new tool. Aim to fill roughly 70 percent of the board initially, leaving obvious room for the next few purchases without looking sparse.
Pegboard is cheaper and better suited to lots of small, varied hand tools. Wall rail systems like Rubbermaid FastTrack or Gladiator GearTrack hold heavier items and reposition without leaving extra holes. Many garages do well with both: pegboard over the workbench, a rail system elsewhere for bulkier gear. My FastTrack review covers what that heavier-duty option looks like in practice.
Standard pegboard uses 1/4-inch holes spaced 1 inch apart, and hooks are sized to match, so check compatibility before buying hooks separately from a different brand than your board. Mount the board with spacers so hooks can seat fully behind it. Skipping spacers is the most common reason pegboard hooks won’t stay put.
Hardboard is economical in a consistently dry space, but moisture can affect its edges and holes. Metal and plastic systems may tolerate damp conditions better, although accessories and mounting requirements differ. Compare documented capacity, panel size, compatible holders, and the complete installed cost rather than choosing by material alone.
Check hole size and spacing before buying hooks. Similar-looking accessories are not necessarily interchangeable. Proprietary holders can be useful but may cost more to replace. Price enough holders for the tools you actually intend to store, not just the empty panel.
Lay your tools on a table or a sheet of cardboard matching the panel size. Group measuring and marking tools, drilling accessories, and repair supplies according to the work you do. Place the most frequently used items in the central reach zone. Leave room around handles so removing one tool does not knock another down.
Photograph the trial layout before transferring it to the wall. Install a few holders, test them during a project, and adjust before drawing permanent outlines. Reserve some blank space for future tools. A completely packed board can be harder to maintain than a compact layout with breathing room.
Start with a tape measure, square, pencils, screwdrivers, pliers, adjustable wrench, and hammer. A cup can hold markers, and a compatible rack can separate screwdrivers. Keep bits and fasteners in labeled containers rather than loose on a shelf. Put the board near a usable work surface so basic repairs do not require trips across the garage.
Store duplicate or seldom-used tools elsewhere. Pegboard is valuable for visibility, not for displaying the entire collection. When a panel becomes crowded, remove low-use items before extending storage beyond comfortable reach.
Use the board primarily for accessories and lighter hand tools. Dense power tools, batteries, and bulk hardware often work better in drawers or appropriate shelving below. Use purpose-built holders only within the ratings for both panel and accessory. Keep cords away from sharp edges and moving equipment.
Follow the tool manufacturer’s temperature, ventilation, and electrical instructions for chargers and batteries. Adding a charger shelf does not make every garage suitable for charging. Storage and charging locations may need to be different.
Traditional pegboard hooks need space behind the panel. Use the backing clearance and support method specified for the system, and attach it to suitable structure. Check for concealed services before drilling. Large panels may need intermediate support rather than only a perimeter frame.
Use compatible retainers where provided. If removing a tool repeatedly pulls its hook out, replace or secure the holder using the approved method. Warped panels, damaged holes, or loose supports should be unloaded and repaired before adding more equipment.
A narrow board beside a bench can work better than a large one behind equipment. A compact panel over a shallow work surface preserves floor area. Cabinet-door installation is appropriate only when the door, hinges, and mounting arrangement can carry the extra load without binding.
Check how far tools and shelf accessories project, not just the panel thickness. Handles can enter a walkway or vehicle door swing. Test the garage in normal use before committing to the location.
Use pegboard for visible small tools, rated rail accessories for larger gear, and cabinets for selected contents needing enclosure. Combining systems is often more useful than forcing every item onto one board. After several projects, move the tools that keep landing on the bench into easier reach. Clean dust and inspect the mounting as instructed by the manufacturer.